Compatible with version 5.3.x
INSTALL INSTRUCTIONS
1) Unzip the teamspeak3 zip file
2) Upload the addons/teamspeak3 folder to your whmcs install location in the modules/addons folder
3) Upload the server/teamspeak3 folder to your whmcs install location in the modules/servers folder
Teamspeak 3 ADDON CONFIGURATION
Setup->addon modules
Click on activate link in the teamspeak 3 module
Scroll down and fill the configuration fields:
Minimum port: Minimum port range for teamspeak services.
Maximum port: Maximum port range for teamspeak services.
Default server name: Default virtual server name.
Banner Url:The image url to be shown in your teamspeak client.
Module license: The FULL license whmcsmod.com provided you. Example: OWNED-1234567890
Access Control: Click Full administrator
Teamspeak 3 PRODUCT CONFIGURATION
1) Create a teamspeak 3 email template
WHMCS->SETUP->EMAIL TEMPLATES
Type: product
Unique name: teamspeak 3 welcome
Click on create button
Subject: your email subject
Body: Paste the text below
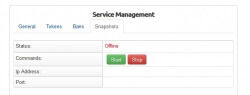
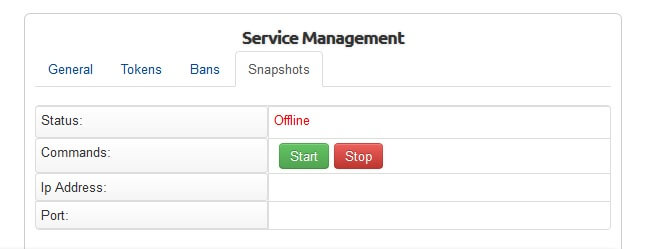
Ip: {$service_server_hostname}
Port: {$service_custom_fields.0}
Token admin: {$service_custom_fields.1}
Click on Save Changes button
2) Add a teamspeak 3 server:
WHMCS->SETUP->PRODUCTS/SERVICES->SERVERS->Add new server
Name: A random name
Hostname: Your server hostname , used for email templates for example ts3.mydomain.com or teamspeak 3 ip.
IP: YOUR_SERVER_IP:YOUR_SERVER_QUERY_PORT
By default the teamspeak 3 queryport is 10011
Type:teamspeak3
Username: your server query admin username ( by default serveradmin)
Password: your server admin query password
click save
3) Create a teamspeak 3 product:
WHMCS->SETUP->PRODUCTS/SERVICES->Create a new product
Details tab:
Product type: other
Product name: A random name for you product, for example “teamspeak 3 plan 1”
Welcome email: welcome teamspeak 3
Module tab:
Module name: teamspeak 3
Server group:your server group in case you made server groups
Check “Automatically setup the product as soon as the first payment is received”
Add 2 custom fields called:
a)Port
b)Token
Both text box.
Save Changes
4) Create a Slots configurable option:
whmcs->setup->products/services->configurable options
Click “create new group” button
Group name : “Teamspeak 3”
Description: “Teamspeak 3”
In Assigned products select all your teamspeak 3 plans
Click “Add new configurable option” button Option
Name: “Slots”
NOTE: its CASE SENSITIVE.
Option Type: Quantity
Add option: “1”
Click “save changes” button
Set the price for EACH slot.
Click “save changes” button.
[button url=”http://sh.st/bdshP”]Download[/button]